


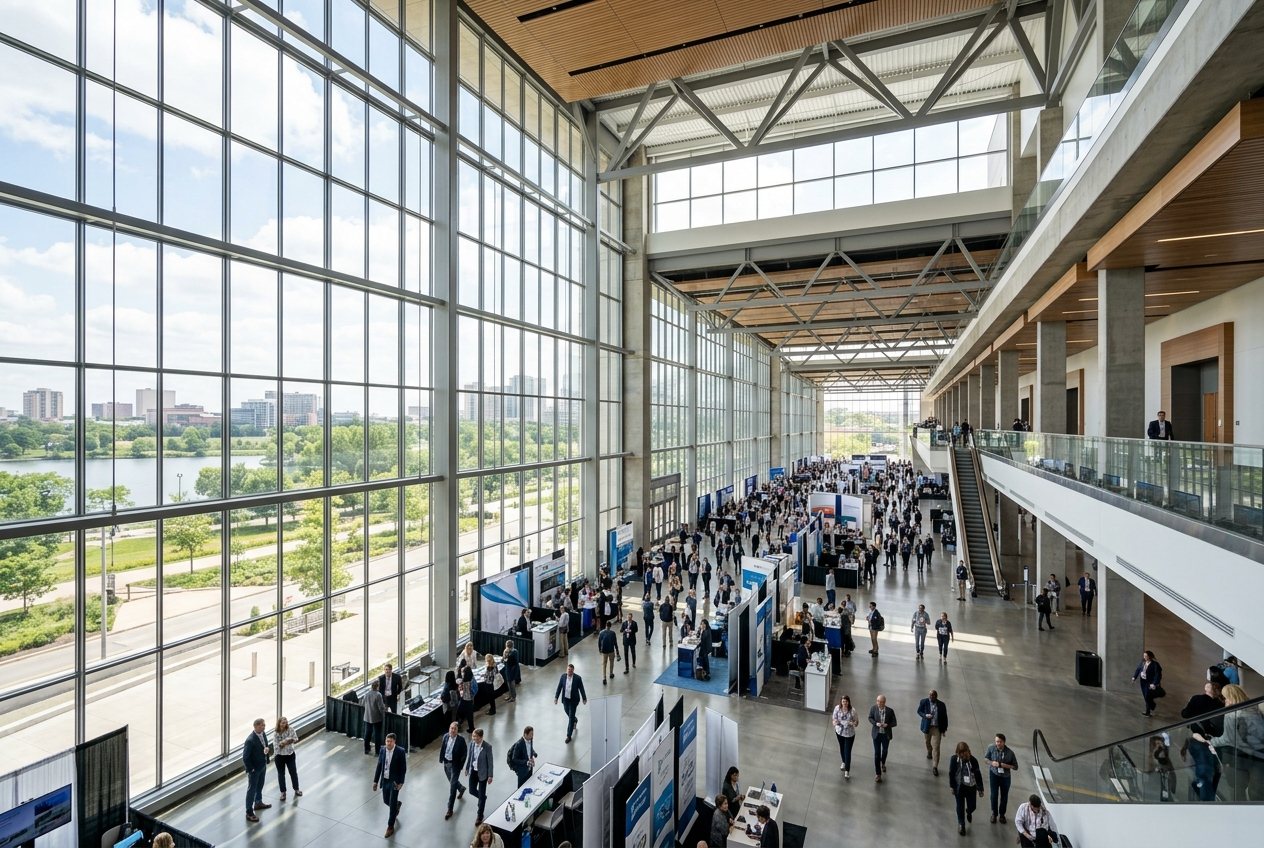
Something BIG changed in Seattle. The previous Washington State Convention Center (WSCC) has morphed into the updated and larger Seattle Convention Center (SCC). If you haven’t been to a trade show in Seattle in a few years, the transformation will surprise and delight you. The addition of a new building (Summit) doubled the total event, ballroom, and breakout rooms, along with increasing the number of loading bays and retail space.
Seattle has always been a desirable destination for trade show attendees, but the previous size of the convention center (430,000 sq. ft.) limited the shows the WSCC could attract and accommodate. That’s no longer true. In this post, we’ll explain the changes to the SCC and how those upgrades turned the new facility into one of the finest facilities, not just on the West Coast but also in the United States.
Additionally, we share design tips to make your trade show booth stand out, how to optimize traffic flow within your booth, four graphic design secrets unique to trade shows, and six easy ways to save money at your next show.
Key Takeaways
- Changes to the Seattle Convention Center, including the new Summit Building
- Why every trade show marketing program should start with specific goals and a strategy
- Choosing the right space and how to maximize your impact on the show floor
- Designing graphics that spark curiosity and attract attendees
- The basics of shipping, booth staff training, and maximizing your trade show budget
What Exhibitors Should Know About the Seattle Convention Center
In April 2022, the WSCC officially changed its name to the Seattle Convention Center to align the SCC to the city’s brand and identity. Eight months later, the Summit Building opened approximately one block north of the original Arch Building. The two buildings (Arch and Summit) are connected with skybridges featuring an outdoor garden terrace and wood features sourced from recycled timber.
In total, the two buildings have 1.5 M sq. ft. of space, doubling the overall event space, meeting rooms, and ballrooms. The SCC can now host two large conventions simultaneously or one massive event, which would have been impossible in the previous WSCC.
The Arch (705 Pike) and Summit (1600 7th Ave) buildings represent two different eras of convention hall design. While Arch offers a traditional, wide, single-level exhibit hall footprint, Summit is a multi-story, state-of-the-art “vertical” convention center.
The exhibit halls can differ in dimensions, ceiling heights, floor-load requirements, access points, and available services; exhibitors should work from the current event-specific floor plan rather than assumptions. Before committing to a space, exhibitors should confirm their event’s official exhibitor manual, booth assignment, move-in schedule, deadlines, and venue requirements before finalizing the exhibit.
Arch vs. Summit: Why the Venue Layout Matters
The chart below summarizes many of the key differences between the Arch and Summit buildings. Here are a few key features:
- Summit can accommodate heavier industrial equipment since the exhibit supports up to 350 lbs. / sq. ft.
- The Summit features dramatic floor-to-ceiling glass walls and natural light. Exhibitors will need to plan for this when using AV displays, video walls, or projection mapping. The Arch relies on traditional artificial lights which is ideal for mood lighting and presentations.
- The Summit’s vertical design features ceilings up to 55-65 feet in key halls. The Arch has more uniform (and lower) ceilings which makes rigging more predictable and less expensive.
- The Summit’s Flex Hall is a carpeted and acoustically treated 99,000 sq. ft. space, which is ideal for presentations, live podcasting, and product demos.
| Feature / Metric | Arch (Original Building) | Summit (Expansion Building) |
|---|---|---|
| Exhibit Layout | Single-Level Hall: 205,700 sq. ft. contiguous hall spanning across I-5. | Vertical/Split Hall: 148,450 sq. ft. Exhibit Hall + 99,250 sq. ft. Flex Hall on separate levels. |
| Floor Load Limits | 250 lbs per sq. ft. across the main exhibit halls. | 350 lbs per sq. ft. in main Exhibit Hall (250 lbs/sq ft in Flex Hall). |
| Ceiling Height & Rigging | Standard contiguous height (approx. 30 ft) with traditional open-truss grid rigging. | Soaring heights: 58,000 sq ft ballroom with 55+ ft ceilings and modern rigging points. |
| Natural Light | Minimal natural lighting in central exhibit halls. | Massive glass curtain walls and skylights in public spaces and halls. |
| Loading Bays | 18 covered bays split across North and South docks. | 18 covered loading bays concentrated in a single centralized dock. |
| Hand-Carried Freight Clearance | North: 9’8″ clearance / South: 6’5″ clearance. | 8’4″ clearance in garage HCF area. |
Start With Your Trade Show Goals
Trade shows are an effective marketing tool in any company’s sales and marketing toolbox. They’re also expensive. Targeted goals will serve as the anchor for every logistical and financial decision.
Booth Design: Your goals and objectives will dictate your physical footprint and booth design. Without defined goals, companies routinely overspend on the wrong elements. For example, if your primary goal is lead generation, then you should prioritize lead capture technology, attendee engagement, and quick demos rather than meeting space.
Show Selection: Not every show is a good fit for your goals. Are you targeting regional customers or a broad branding awareness? Those two, very different goals, will dictate the shows you select.
Staffing Strategy: Who you bring to a trade show matters, along with their training. Companies often default to the sales team, but if your strategy relies heavily on intensive demos then bringing customer service or engineers may make more sense. Regardless, a booth team operating without goals defaults to passive behaviors—standing behind counters, handing out swag, or talking amongst themselves.
ROI and Metrics: Without goals and specific metrics, measuring success is subjective and arbitrary. Setting goals establishes the criteria for success even before the trade show starts.
By establishing clear goals, you ensure that every dollar spent serves a business outcome, whether it’s accelerating sales cycles, capturing high-intent leads, or launching a new product or service.
Choose the Right Seattle Convention Center Booth Design
| Exhibit Type | Best For | Primary Advantage |
|---|---|---|
| Inline booth | Focused messaging and efficient footprint | Efficient use of limited space |
| Island booth | High-traffic brands and larger budgets | Strong visibility from multiple directions |
| Peninsula booth | Brands seeking multiple open sides | Greater accessibility and visibility |
| Rental exhibit | Temporary or flexible programs | Lower commitment and adaptable design |
| Custom exhibit | Long-term brand presence | Maximum branding and functional flexibility |
| Portable display | Smaller events or frequent travel | Easy transportation and setup |
Booth type, budget, objectives, and show frequency should influence the choice rather than assuming the largest exhibit is automatically the best. Rental exhibits are a viable option for companies wanting flexibility, while custom exhibits can provide greater long-term brand consistency and personalization. Exhibits Northwest offers both approaches.
Design Your Booth to Stand Out in a Crowded Hall
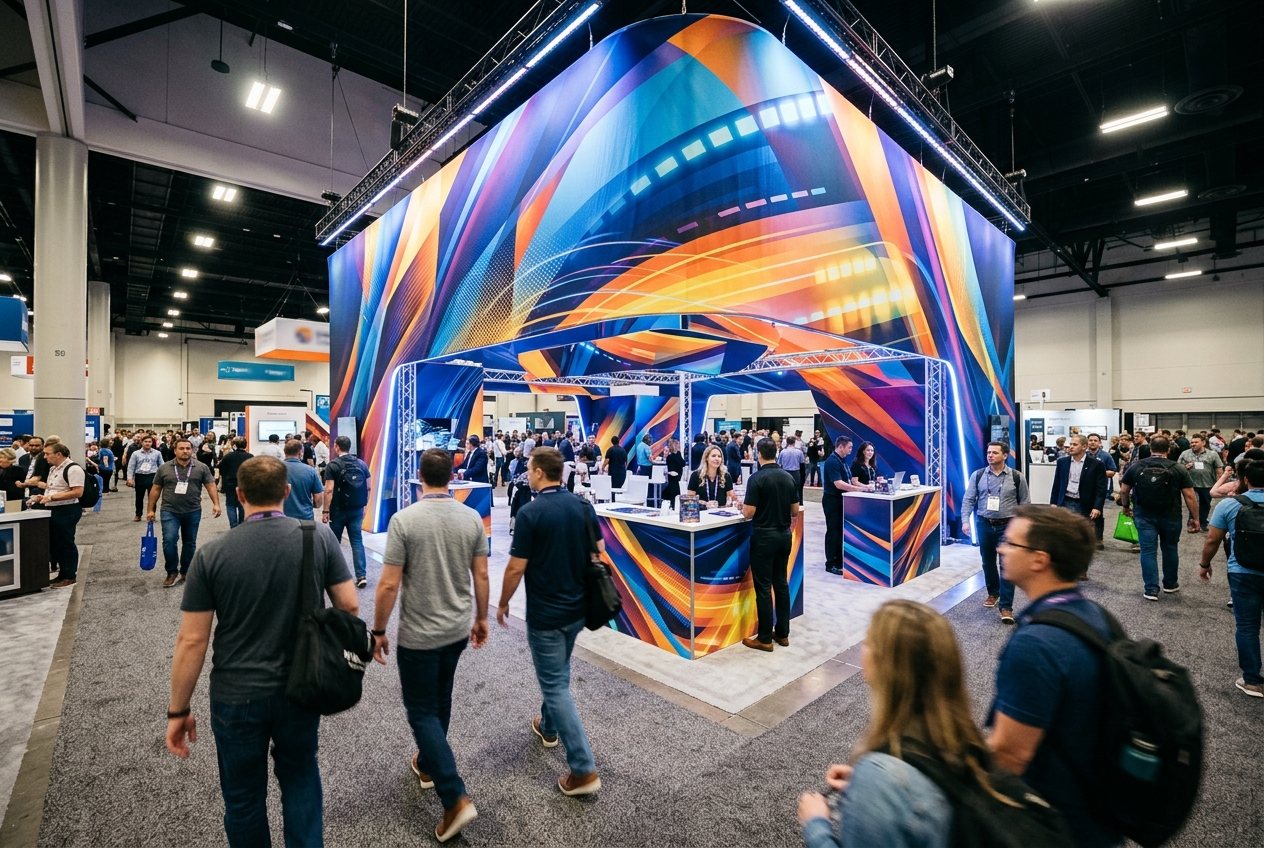
Creating visual hierarchy matters: brand first, value proposition second, supporting message third. Large, readable graphics that communicate from the aisle will always outperform small blocks of text. Use lighting, dimensional elements, product displays, motion, and carefully selected technology to attract attention without creating visual clutter.
The 3-Second Booth Test
What should an attendee understand within approximately three seconds of seeing your booth? Evaluate your exhibit from an attendee’s perspective rather than from several feet away at your desk, and test the design at realistic viewing distances before production.
Plan the Booth Layout Around Attendee Flow
Open sightlines and accessible entry points can make a booth feel more inviting than a wall of graphics or furniture. Create distinct zones for attraction, engagement, demonstration, conversation, and lead capture, and avoid allowing storage, counters, furniture, or screens to unintentionally block the most valuable traffic paths.
Create Spaces for Different Conversation Types
| Booth Zone | Purpose | Design Consideration |
|---|---|---|
| Attraction zone | Stop passing attendees | Strong headline and visual |
| Engagement zone | Start interaction | Open, approachable space |
| Demo zone | Explain product/service | Clear viewing angle |
| Conversation zone | Discuss needs | Comfortable but private enough |
| Lead-capture zone | Record information | Simple and easy process |
| Storage zone | Hide supplies | Keep clutter out of sight |
Build Graphics That Work From the Aisle
Prioritize concise messaging over paragraphs; visitors should understand who you are and what you offer before deciding whether to stop. Use consistent brand colors, typography, photography, and visual assets across the booth and supporting materials. Graphics should support the sales conversation rather than attempt to explain the entire company.
What Your Main Booth Graphic Should Communicate
- Who you are
- What you offer
- Why the attendee should care
- A concise CTA where appropriate, such as “Book a Demo,” “See It in Action,” or “Talk With an Expert.”
Add Technology Without Letting It Take Over
LED displays, video, interactive demos, touchscreens, charging stations, and other technology all have appropriate uses, but technology should accomplish a specific engagement goal rather than simply make the booth look modern. Prepare a non-technical backup for critical demonstrations in case of connectivity, power, or equipment issues.
Understand Seattle Convention Center Exhibitor Logistics
Booth success depends heavily on logistics occurring before attendees ever arrive: freight, electrical, internet, installation, dismantling, utilities, and booth materials all need advance planning. The venue’s exhibitor guidelines indicate that facility services should be ordered through the appropriate process, and that advance ordering can affect pricing deadlines. Show-specific exhibitor manuals and deadlines should always take precedence over generic advice.
Services to Plan in Advance
| Service | Why It Matters |
|---|---|
| Electrical | Powers lighting, displays, devices, and demonstrations |
| Internet/Wi-Fi | Supports connected demos and lead capture |
| Freight | Gets booth materials to the correct location |
| Installation | Transforms shipped components into the finished booth |
| Dismantling | Ensures safe and organized post-show breakdown |
| Storage | Protects materials between events |
| AV | Supports presentations, video, and demonstrations |
The Seattle Convention Center identifies specific providers for services such as food and beverage, telecommunications, and utilities; exhibitors should verify requirements for their specific event. Assigning one person to track deadlines can prevent costly last-minute problems.
Shipping and Installing Your Exhibit
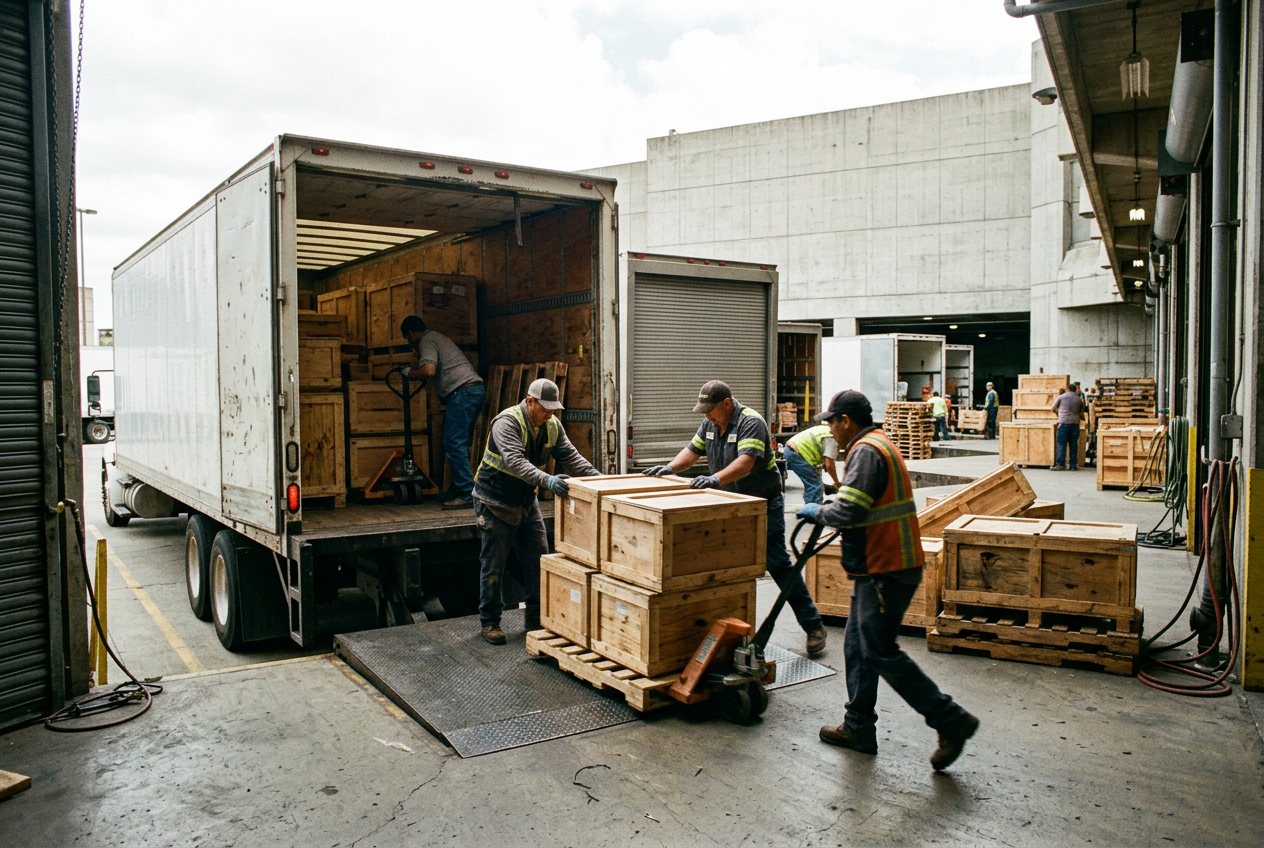
Shipping a booth requires more planning than simply sending a package to Seattle. Packaging, freight coordination, labeling, delivery windows, advance warehouse versus direct-to-show options when applicable, and return shipping all need to be mapped out ahead of time. A reliable exhibit partner can help coordinate transportation, installation, dismantling, and storage so your team can focus on attendees.
Protect Your Exhibit During Transportation
Durable exhibit cases and crates are particularly important for displays that travel repeatedly between shows. Inspect cases, hardware, graphics, and components before shipment and maintain an inventory checklist. This is where Exhibits Northwest’s broader exhibit storage and management capabilities come into play between events.
Make Your Booth More Engaging for Seattle Attendees
Move beyond visual attraction by incorporating a clear reason to interact: product demonstrations, interactive experiences, educational content, samples, consultations, or scheduled meetings. Booth experiences should reinforce the company’s value proposition rather than function as unrelated entertainment. Create a simple “conversation starter” that staff can use consistently.
Train Your Booth Staff Before the Show
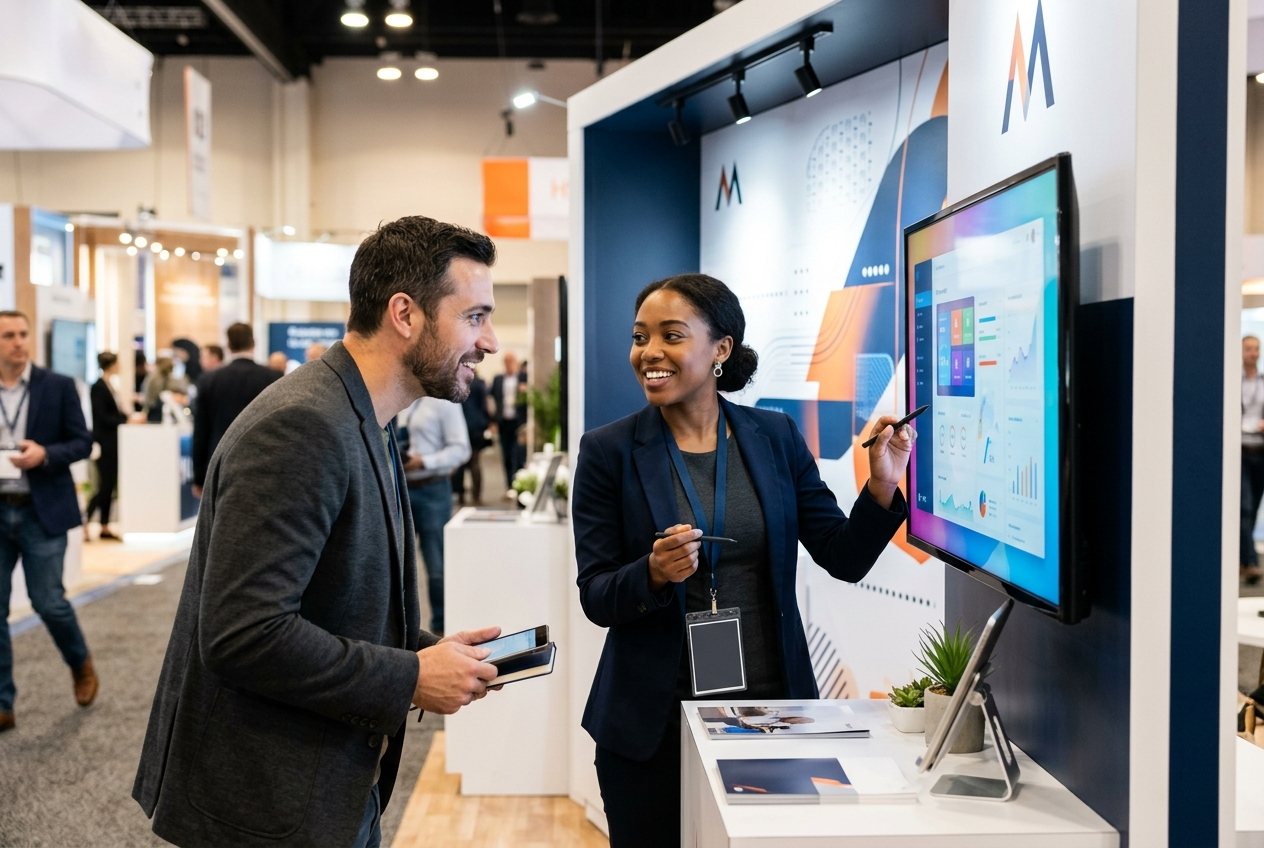
Even an excellent exhibit can underperform if staff members are distracted, passive, overly aggressive, or inconsistent. Train staff to greet visitors naturally, ask discovery questions, identify qualified prospects, and transition conversations toward an appropriate next step. Establish clear responsibilities for lead capture, demonstrations, meetings, hospitality, and booth coverage.
Create a Pre-Show Marketing Strategy
Exhibitors should begin generating awareness before attendees walk onto the show floor. Use email, LinkedIn, social content, customer outreach, sales invitations, and event-specific landing pages to encourage prospects to visit the booth. Promote something specific: a product launch, demonstration, meeting opportunity, expert presentation, giveaway, or educational experience.
Build a Simple Pre-Show Timeline
| Timing | Priority |
|---|---|
| 8–12+ weeks out | Define objectives, booth design, budget, and major logistics |
| 6–8 weeks out | Finalize messaging, graphics, promotions, and staff |
| 3–6 weeks out | Begin attendee outreach and meeting scheduling |
| 1–2 weeks out | Confirm shipping, services, materials, and staff assignments |
| Show week | Execute booth plan and capture leads |
| After show | Follow up, qualify, report, and measure ROI |
Exact deadlines depend on the individual event’s exhibitor manual and should be verified with show management.
Measure Your Seattle Convention Center Trade Show ROI
Booth traffic alone is a weak success metric; qualified conversations, meetings, opportunities, and revenue potential are more meaningful. Track the complete cost of participation, including exhibit design, rental or purchase, freight, installation, travel, services, staffing, and promotional costs, and compare results against the KPIs established before the show.
| KPI | What It Tells You |
|---|---|
| Booth visitors | Overall traffic and attraction |
| Qualified leads | Audience quality |
| Product demos | Engagement level |
| Meetings booked | Sales intent |
| Opportunities created | Potential pipeline |
| Cost per lead | Efficiency |
| Revenue influenced | Business impact |
Common Seattle Convention Center Exhibitor Mistakes to Avoid
- Waiting too long to finalize booth design, graphics, freight, or venue services.
- Designing around the booth’s appearance rather than attendee movement and business objectives.
- Trying to communicate too many messages at once or relying on staff to explain what the graphics fail to communicate.
- Treating logistics as an afterthought instead of building freight, installation, storage, and dismantling into the initial plan.
Why Work With a Local Exhibit Partner?
A Pacific Northwest-based exhibit partner understands regional shows and can provide support beyond booth fabrication. Exhibits Northwest’s integrated capabilities span Seattle trade show displays, graphic design and printing, fabrication, pre-show staging, installation and show management, and storage. Nearly three decades of experience and thousands of successful projects back that specialized trade show expertise.
Your Seattle Convention Center Exhibitor Checklist
| Planning Area | Key Task |
|---|---|
| Goals | Define measurable show objectives |
| Booth | Confirm size, type, and location |
| Design | Create clear messaging and visual hierarchy |
| Graphics | Finalize production-ready artwork |
| Services | Order utilities and venue services |
| Freight | Plan shipping and delivery |
| Installation | Confirm setup and dismantling |
| Technology | Test equipment and backups |
| Staffing | Train booth personnel |
| Marketing | Promote the booth before the event |
| Lead Capture | Establish a consistent qualification process |
| Follow-Up | Create post-show workflows before the event |
Use this checklist alongside your official show-specific exhibitor manual and save it for your next planning cycle.
Conclusion
Successful Seattle Convention Center exhibiting requires more than a visually attractive booth; it requires strategic planning across design, messaging, logistics, staffing, engagement, and follow-up. Starting early gives exhibitors more control over design quality, service deadlines, freight, installation, and attendee outreach.
Planning your next Seattle show? Consult Exhibits Northwest for custom exhibits, rentals, logistics, installation, and show support, or explore our exhibitor design services.
FAQs
How early should I start planning a Seattle Convention Center booth?
Most exhibitors should start 8 to 12 weeks out for a standard booth, and even earlier for a custom exhibit or a large island space, since design, fabrication, and venue service deadlines all stack up faster than they appear to at first glance.
Can I use my existing trade show booth at the Seattle Convention Center?
In most cases, yes, though it’s worth confirming your booth’s dimensions and ceiling height against the specific hall you’re assigned, since Arch and Summit have different clearances and floor-load limits.
What should I bring to a Seattle trade show besides my booth?
Plan for lead capture technology, backup demo materials, booth staff training materials, branded collateral, and a checklist of the services you’ve ordered so nothing is missing on move-in day.
Can a trade show exhibit be designed for multiple booth sizes?
Yes. Modular exhibit systems can be configured for different footprints, which is useful for companies that exhibit at both larger and smaller shows throughout the year without investing in a separate booth for each.
What happens if my exhibit is damaged during shipping?
Working with an experienced exhibit partner for transportation, storage, and installation reduces this risk considerably, and having an inventory checklist and documented condition report before shipment makes any issue easier to resolve quickly.